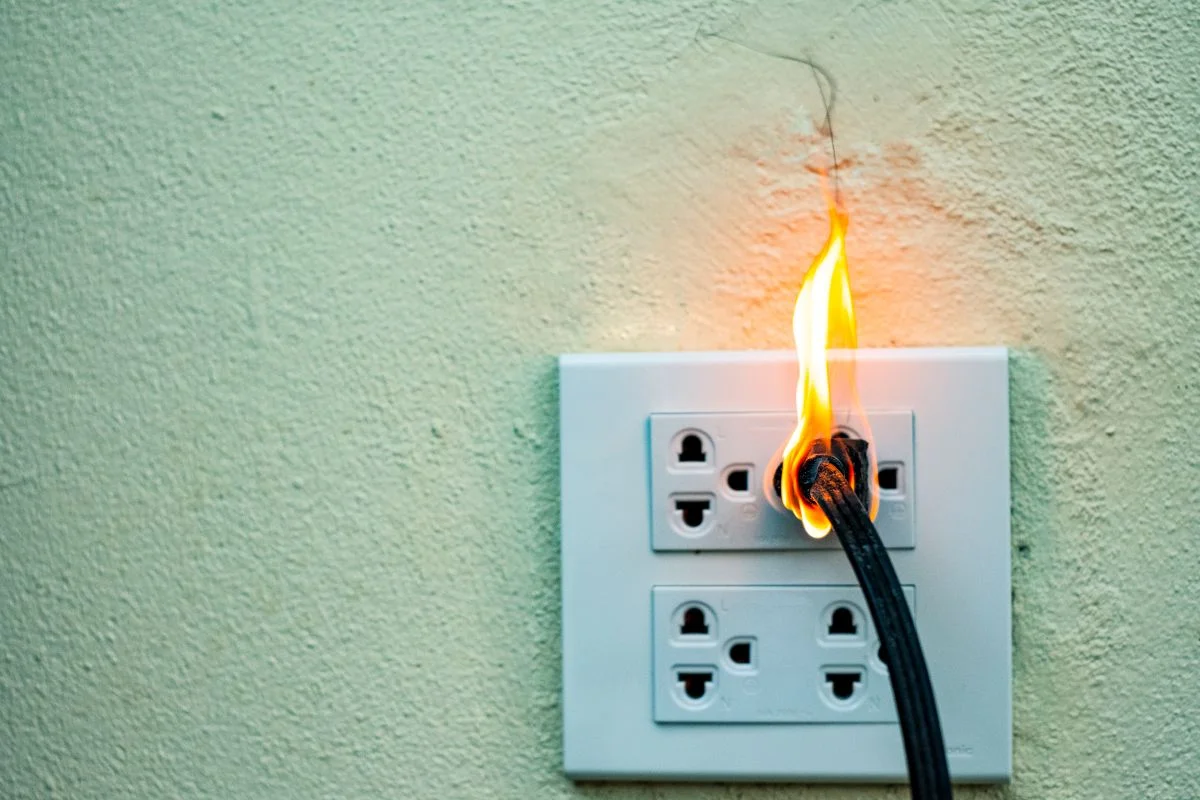
Dryer vent cleaning is one of the most overlooked yet critical home maintenance tasks. According to the U.S. Fire Administration, failure to clean dryer vents is the leading cause of dryer fires, resulting in approximately 15,500 home fires annually. Beyond safety concerns, clogged vents force your dryer to work harder, leading to increased energy consumption, longer drying times, and premature wear on your appliance.
Warning Signs of a Clogged Dryer Vent
Watch for these indicators that your dryer vent needs cleaning:
- Clothes take longer than one cycle to dry
- Dryer stops mid-cycle due to overheating
- Clothing feels unusually hot at the end of the cycle
- Dryer shuts off before clothes are completely dry
Physical Signs
- Excessive lint buildup around the lint trap
- Visible lint accumulation around the external vent opening
- Dryer feels unusually hot to the touch during operation
- Burning smell when the dryer is running
- Little or no air flow coming from the exterior vent
Environmental Indicators
- Excessive humidity in the laundry room
- Musty odor in recently dried clothes
- Lint or debris visible outside the exterior vent cover
If you notice two or more of these warning signs, your dryer vent system likely needs immediate attention.
Understanding Your Dryer Vent System
Before cleaning, it’s important to understand the components of your dryer vent system:
Key Components
- Lint trap: The screen that captures lint inside your dryer
- Transition hose: The flexible or semi-rigid duct connecting the dryer to the wall
- In-wall ductwork: The hidden pathway that carries air through walls, floors, or ceiling
- Exterior vent cover: The outdoor termination point with a flap or cover
Common Configuration Issues
- Excessive length: Vents longer than 25 feet require special considerations
- Multiple bends: Each 90-degree turn significantly reduces airflow
- Improper materials: Plastic or foil accordion-style ducts are fire hazards
- Vertical runs: Upward venting requires more frequent cleaning due to gravity working against lint movement
DIY Dryer Vent Cleaning: Step-by-Step Guide
- Dryer vent cleaning kit with flexible rods (available at home improvement stores)
- Vacuum with hose attachment
- Screwdriver or nut driver
- Brush attachment for vacuum
- Work gloves
- Dust mask
- Drop cloth or old towels
Safety Precautions
- Disconnect the dryer from power (unplug or turn off circuit breaker)
- For gas dryers, ensure the gas line is properly turned off
- Wear a dust mask to avoid inhaling lint particles
- Work in a well-ventilated area
Cleaning Process
Step 1: Prepare the Dryer
- Pull the dryer away from the wall (about 1-2 feet)
- Disconnect the vent hose from the wall and the dryer
- Vacuum any visible lint from both the dryer exhaust and wall duct opening
- Clean the transition hose by hand or vacuum, or replace if damaged
Step 2: Clean the Lint Trap Housing
- Remove the lint trap screen
- Use a vacuum attachment to clean deep inside the lint trap housing
- Use a long, narrow brush to remove built-up lint from inside the housing
- Wash the lint screen with warm soapy water if it has visible residue from dryer sheets
Step 3: Clean the Ductwork
- Insert the vent cleaning brush into the wall duct
- Attach the brush to a drill or manually rotate it while pushing further into the duct
- Continue adding extension rods as needed to reach the exterior vent
- Slowly pull the brush back, removing accumulated lint
- Repeat if necessary until the brush comes back with minimal lint
Step 4: Clean the Exterior Vent
- Go outside and remove the exterior vent cover
- Clear any visible lint or debris from the cover and opening
- If possible, insert the brush from the outside and clean toward the inside
- Ensure the vent flap moves freely and creates a proper seal when closed
- Reinstall the vent cover
Step 5: Reassemble and Test
- Reconnect the transition hose to both the dryer and wall opening
- Secure connections with metal tape or clamps (never use screws, which collect lint)
- Push the dryer back into place, ensuring the vent isn’t crushed or kinked
- Reconnect power and/or gas
- Run the empty dryer for 10-15 minutes on an air-only cycle
- Verify strong airflow at the exterior vent
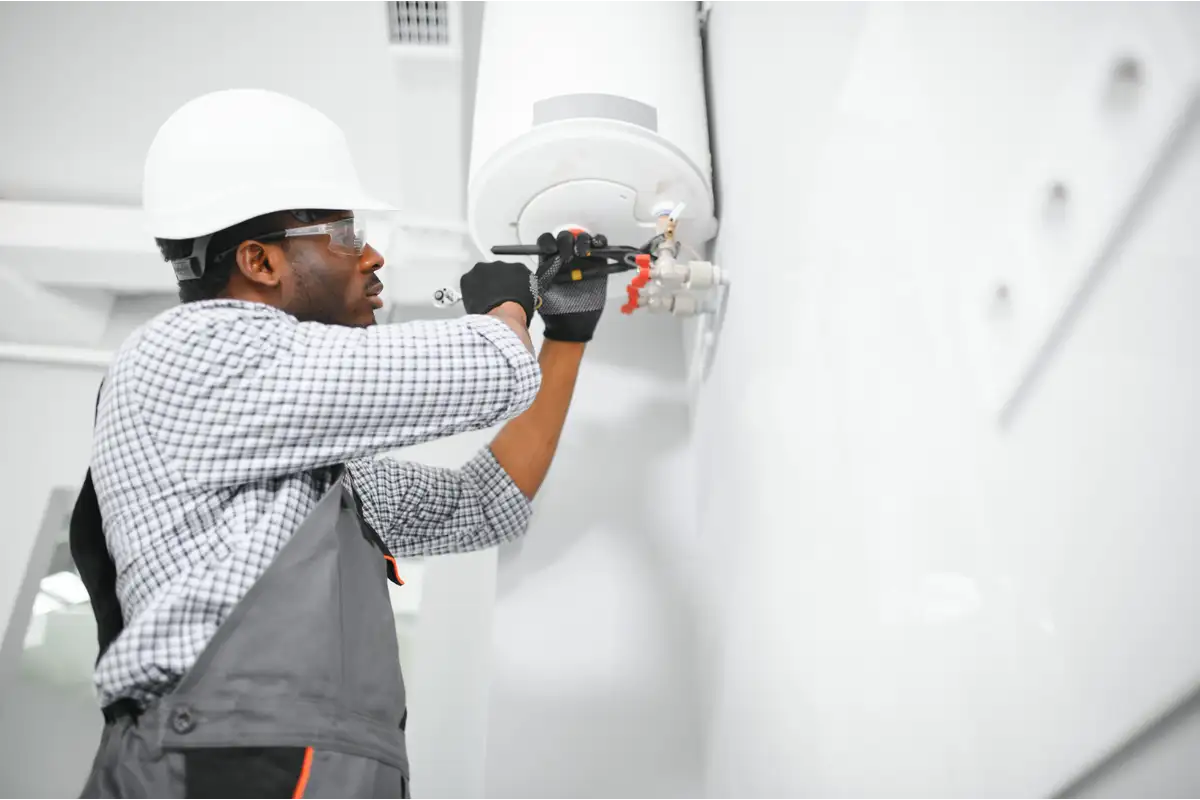
Professional Cleaning vs. DIY
While many homeowners can successfully clean their dryer vents, certain situations warrant professional service:
When to Call a Professional
- Complex vent configurations with multiple bends or long runs
- Second-floor or roof venting that’s difficult to access
- Homes with historic preservation restrictions
- Suspected animal nests or significant blockages
- No cleaning in over two years
- Signs of previous vent fires such as scorching or melted plastic
What Professional Cleaning Includes
- Specialized equipment for complete duct cleaning
- Inspection cameras to identify hidden problems
- High-powered vacuum systems that contain and remove all debris
- Insp
A clean dryer vent is not just about efficiency—it's about keeping your family safe from one of the most preventable home fire hazards.
Thomas Rivera
Fire Safety Inspector & HVAC Technician